How to publish your MSI and EXE setup applications in the Microsoft Store
At the 2022 Microsoft Build event, a new opportunity was announced for developers: the ability to upload MSI and EXE applications directly to the Microsoft Store.
In this article, I will go through the steps of publishing your MSI or EXE application to the Microsoft Store.
We have an article explaining how to publish your MSIX application to the Microsoft Store - check it out.
What you should know about publishing an E0 or MSI application to the Microsoft Store
Before getting started, we need to make sure our EXE or MSI application meets the following conditions - as they are needed to be accepted into the Microsoft Store:
- Your application should allow silent installation, either by default or with silent switches. Learn more about silent installers in our “How do I create a silent install” article.
- It must allow for offline installation, not requiring an internet connection after the setup file is downloaded.
- Your application should support one of the 100+ languages recognized by Microsoft.
- Digital signature/code signing using a certificate from a trusted Certified Authority which is part of the Microsoft Trusted Root Program. Unlike the MSIX applications, which are signed automatically after successful validation by Microsoft, MSI and EXE applications must be digitally signed.
For this article, we will use Hover as our MSI application. Hover is a free tool developed by Advanced Installer’s team that allows you to run natively installed applications inside an MSIX/App-V container. Download it here!
Now that we know what characteristics our MSI must have, let's look at how to register with Microsoft's Partner Center to publish your MSI or EXE to the Microsoft Store.
How to Register to Microsoft's Partner Center?
The first step in publishing an application to the Microsoft Store is to register a developer account. Go to Microsoft Partner Center and sign up.
A standard Microsoft account is required to create the developer account. The login will be made using the same email address.
Depending on which type of account you are creating, you will need to pay a one-time fee (19$ for an individual account and 99$ for a company account).
Find out more information related to account differences and exact prices based on your location, here.
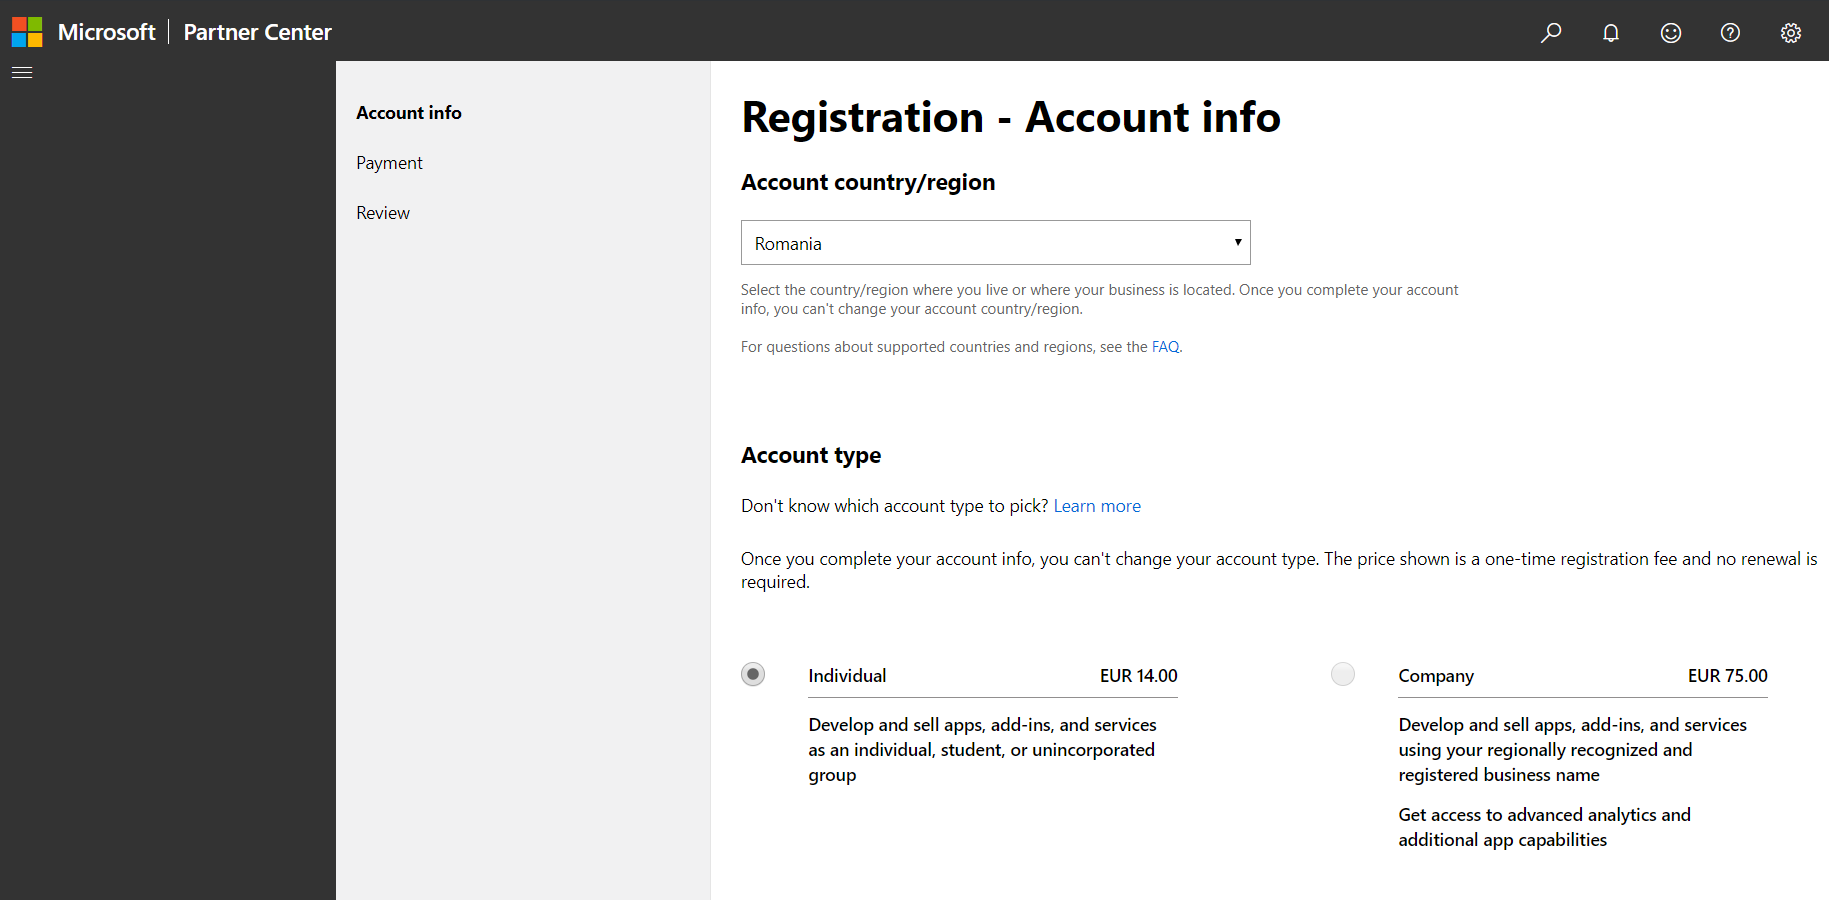
The sign-up process is straightforward:
- Select Account country/region.
- Choose Account type.
Enter your Publisher display name (Company Name).
- Fill in your Contact info.
- Proceed to payment, review, and finalize the sign-up process.
Now that you have your accounts created, it is time to log in to the Partner Center. Keep your login details handy for the next steps.
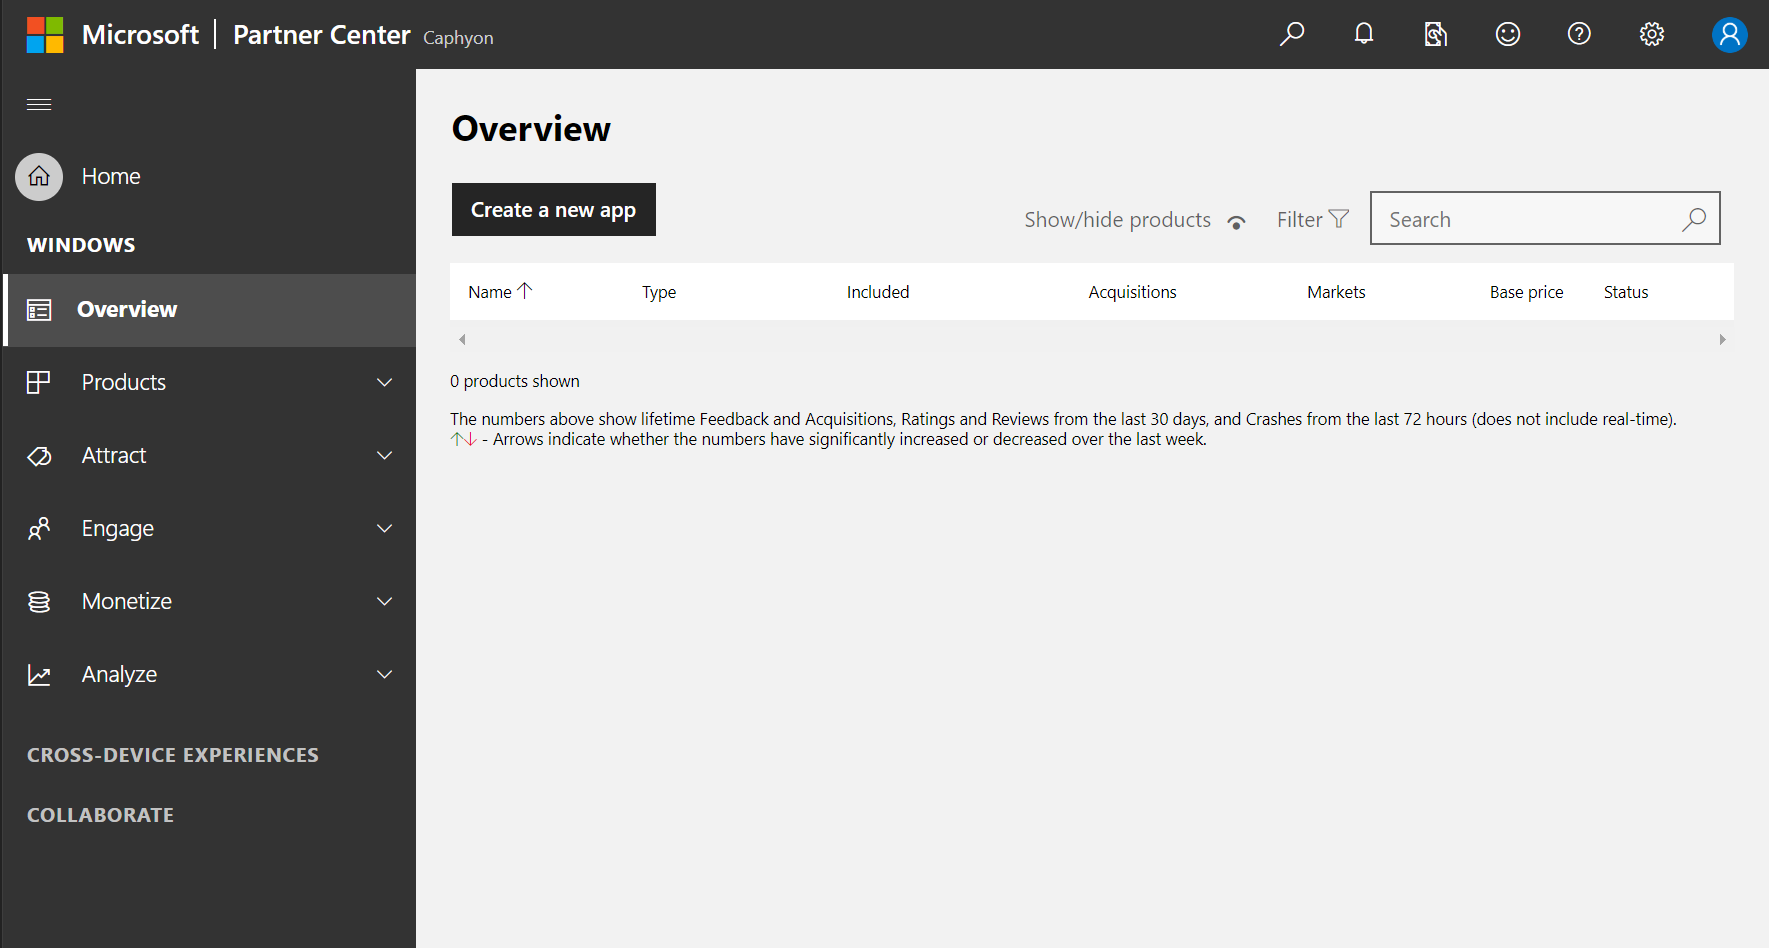
How to create your MSI or EXE application in the Microsoft Partner Center (Name Reservation)
After joining the preview program, log back into the Partner Center and navigate to Dashboard to start creating your app.
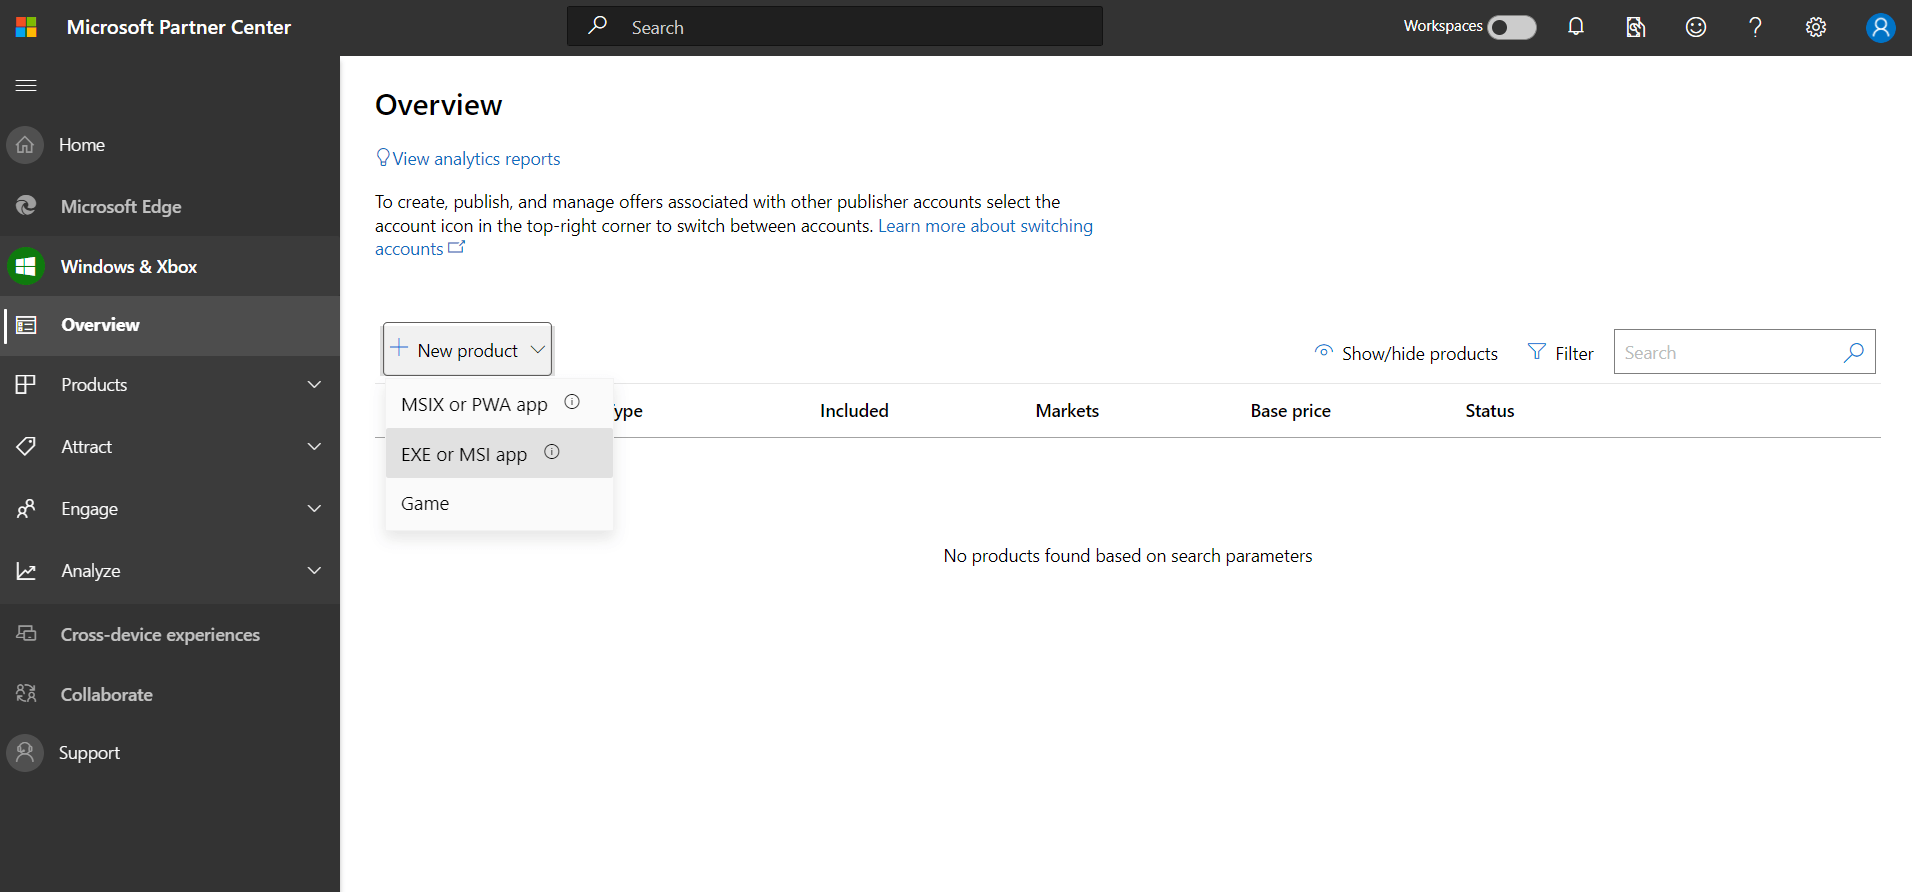
In the Overview section, click on New Product and select EXE or MSI app from the drop-down.
Name your application, ideally matching the name on your subscription form. This step reserves your app name.
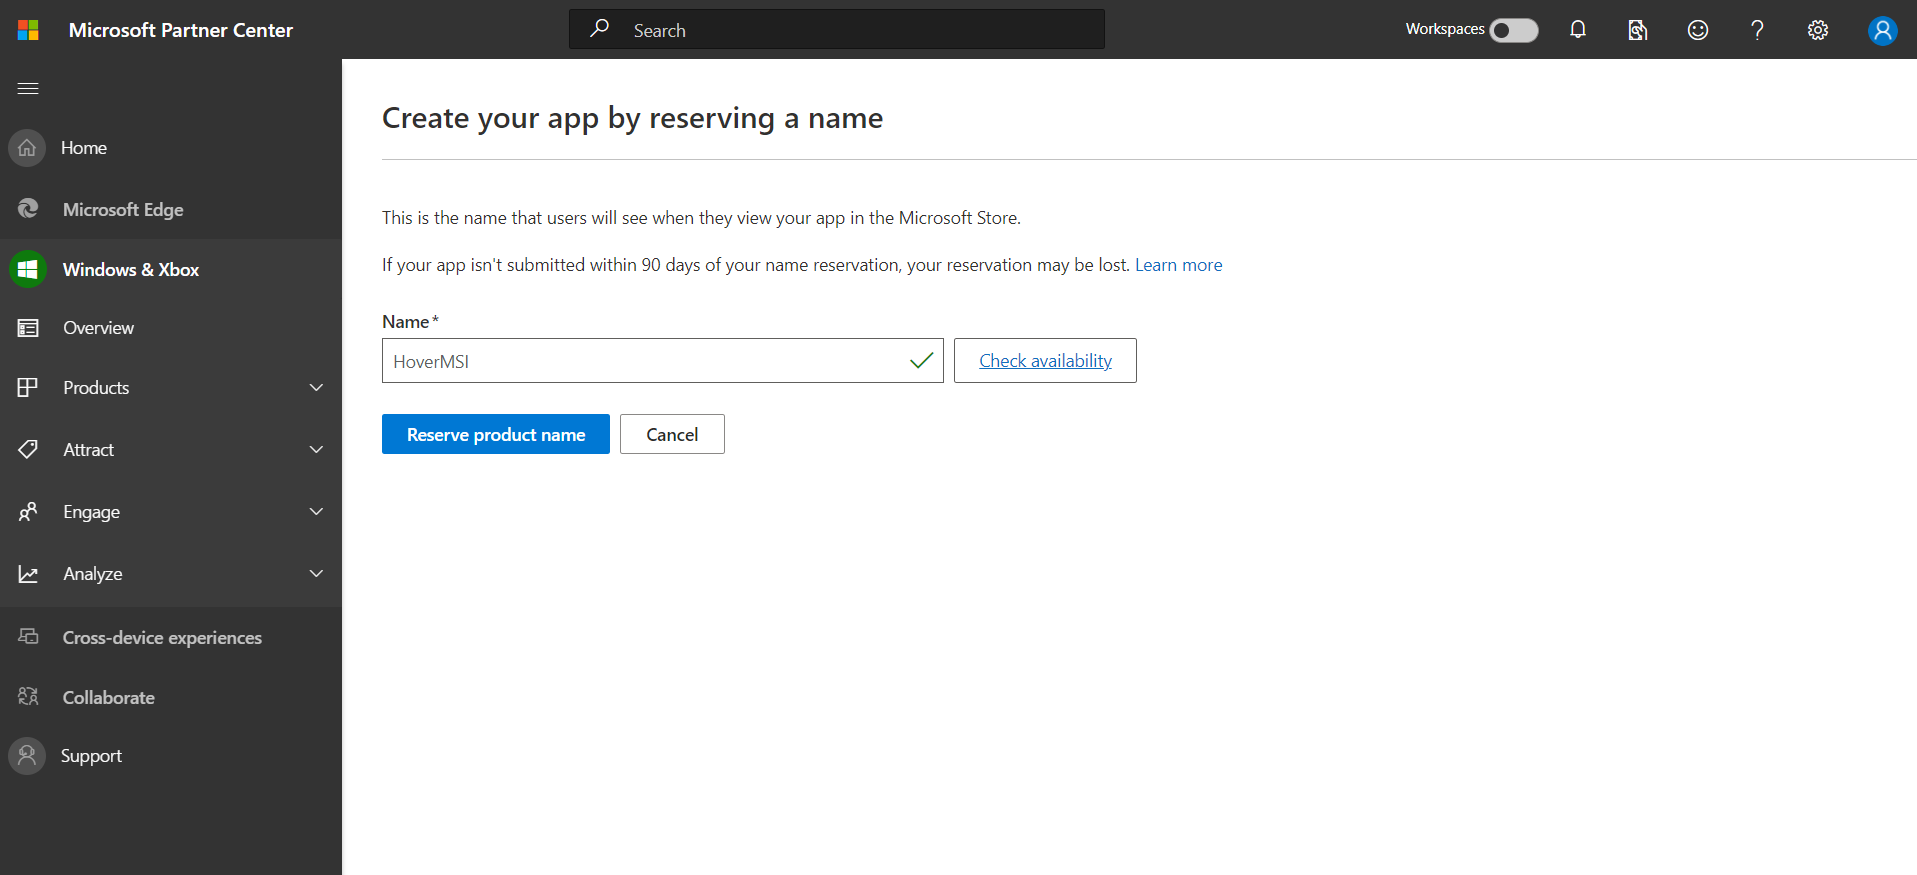
You have three months to submit your app to the Microsoft Store. Otherwise, you will lose your name reservation.
Starting your Submission
Once the name reservation is completed, you are automatically redirected to the application submission page. When you click on “Start your submission”, a submission page is generated.
Here are five subsections you need to go through before you can submit your app to the Microsoft Store.
Availability
As the title suggests, this is the page where we set up which regions the application will be available, as well as the pricing model.
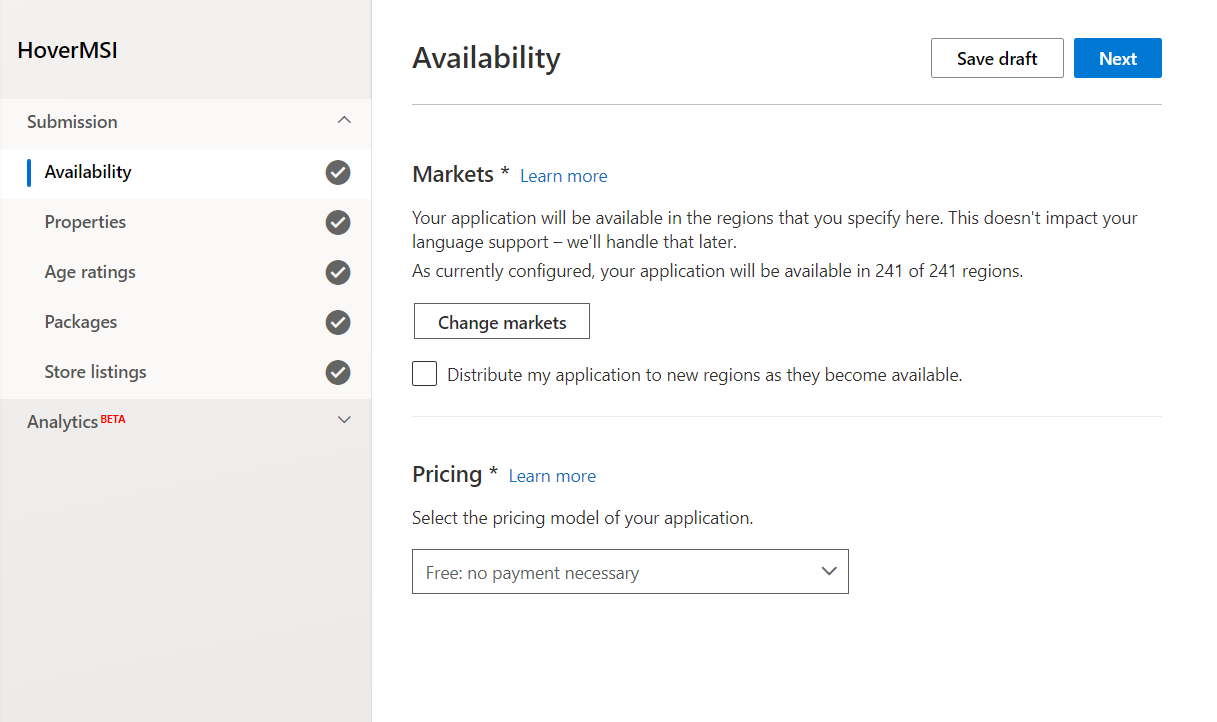
We left Markets, as default.
As for the Pricing of our app, we have set it to Free. There are other options such as Free, Freemium, Subscription, and Paid.
Remember to save the draft before proceeding to the next steps.
Properties

The Properties configuration page contains the following subsections:
- Category: We have set it as a Developer tools with no subcategory.
- Support info: Our company information.
- Product declaration: It should be On if applicable for your app.
- Notes for certification: This is a good text box where you can add additional information that could help the validation process. Feel free to note any information that you might find useful (maybe user and password for test accounts, dependencies, etc).
- System requirements: We marked Keyboard and Mouse since this is a simple non-demanding app. Feel free to complete any requirements you know your app needs.
Age rating
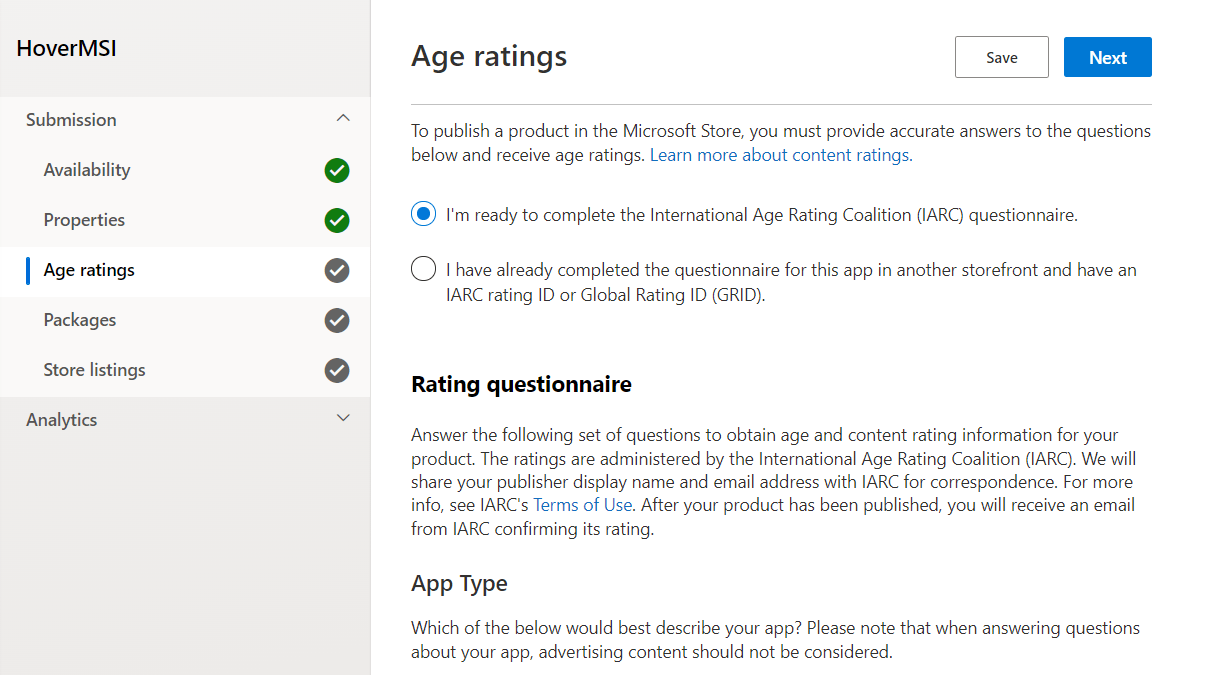
This page requires you to complete a questionnaire on the IARC (International Age Rating Coalition). Since our application is not a Game, Social, or Communication, we chose the All Other App Types category for the Rating questionnaire.
Proceed with the rest of the questionnaire and answer the questions based on your application time. Once completed you will get a confirmation page as below:
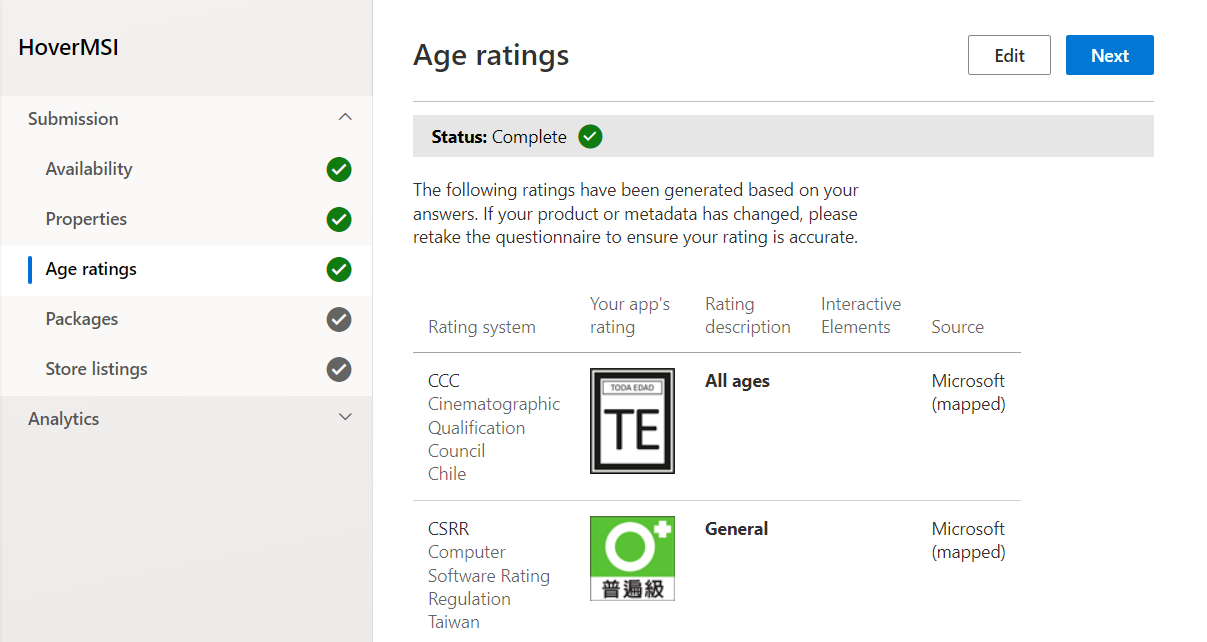
Packages
In the Packages section you declare the Package URL (the link from where your application can be downloaded), the architecture (x86 or x64 bits), install parameters (remember your app needs to support the silent install switches as discussed previously), and supported languages.

Store listings. Manage Store listing languages.
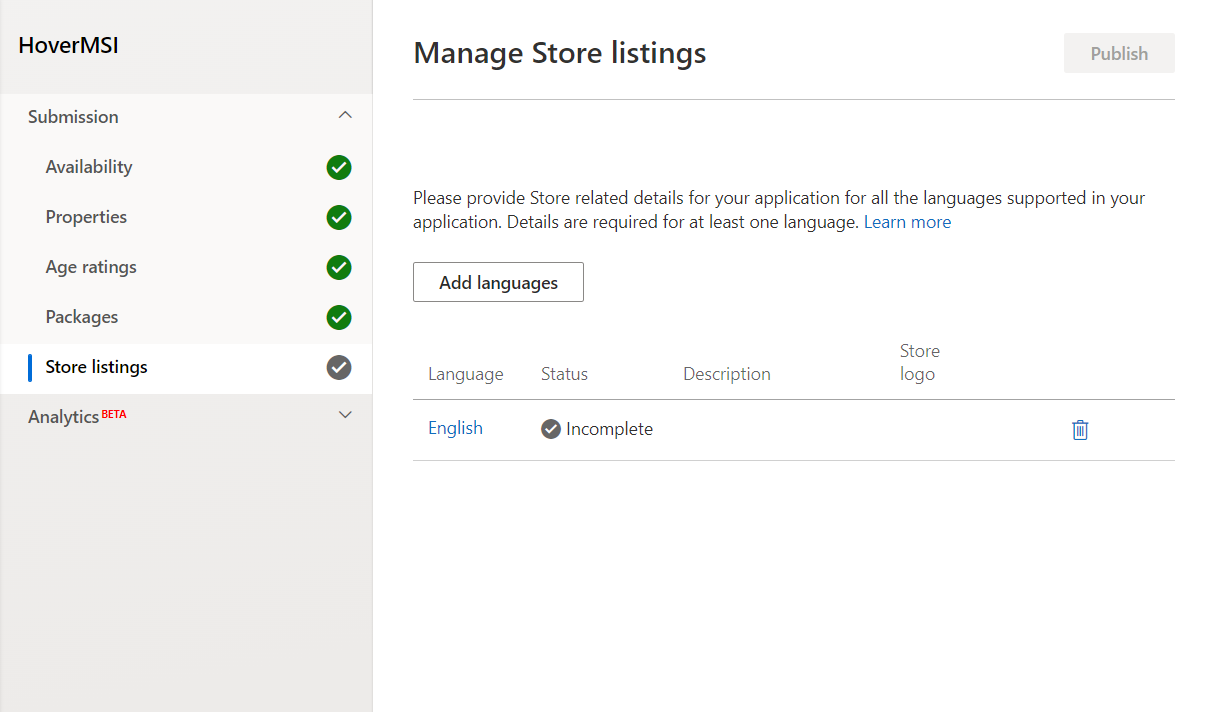
Click on Add languages to add your preferred language as well as the description of your application. After this step, you will see the status is Incomplete in the English section, as seen in the above image.
For the next step, click on English and start completing the “Store listing details for English”.
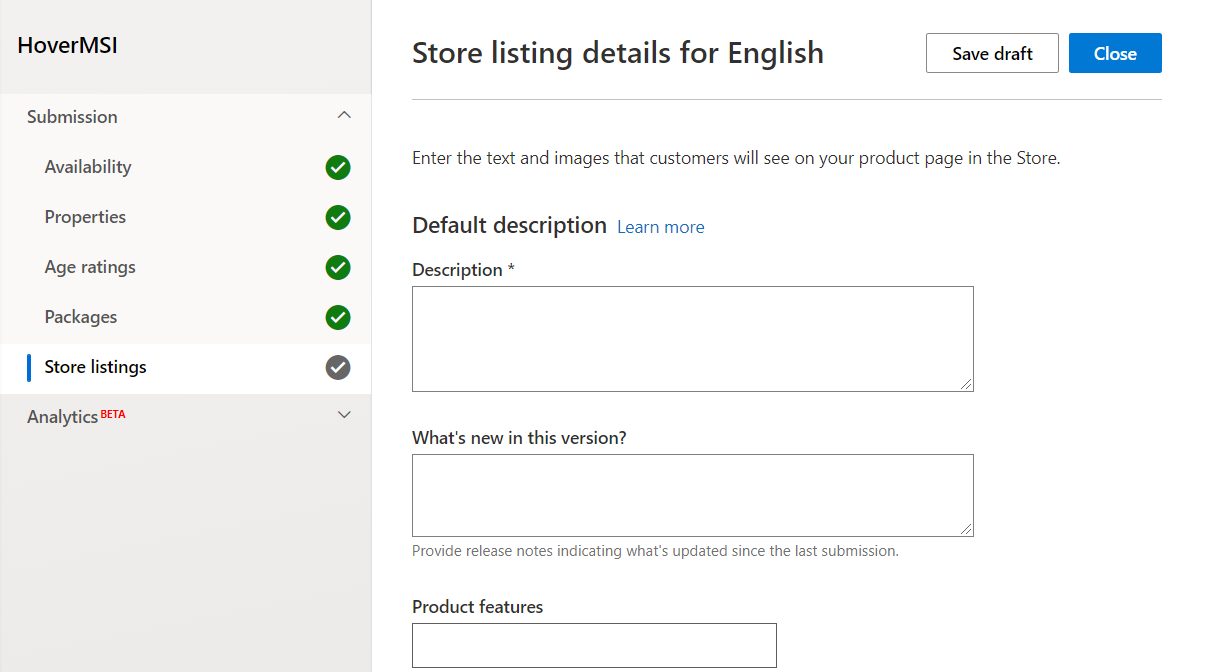
There are three mandatory fields: Description, Screenshots, Store Logo, and Applicable license terms. Feel free to complete the rest of the information for a more detailed description.
You need to go through these steps each time you want to add a new language.
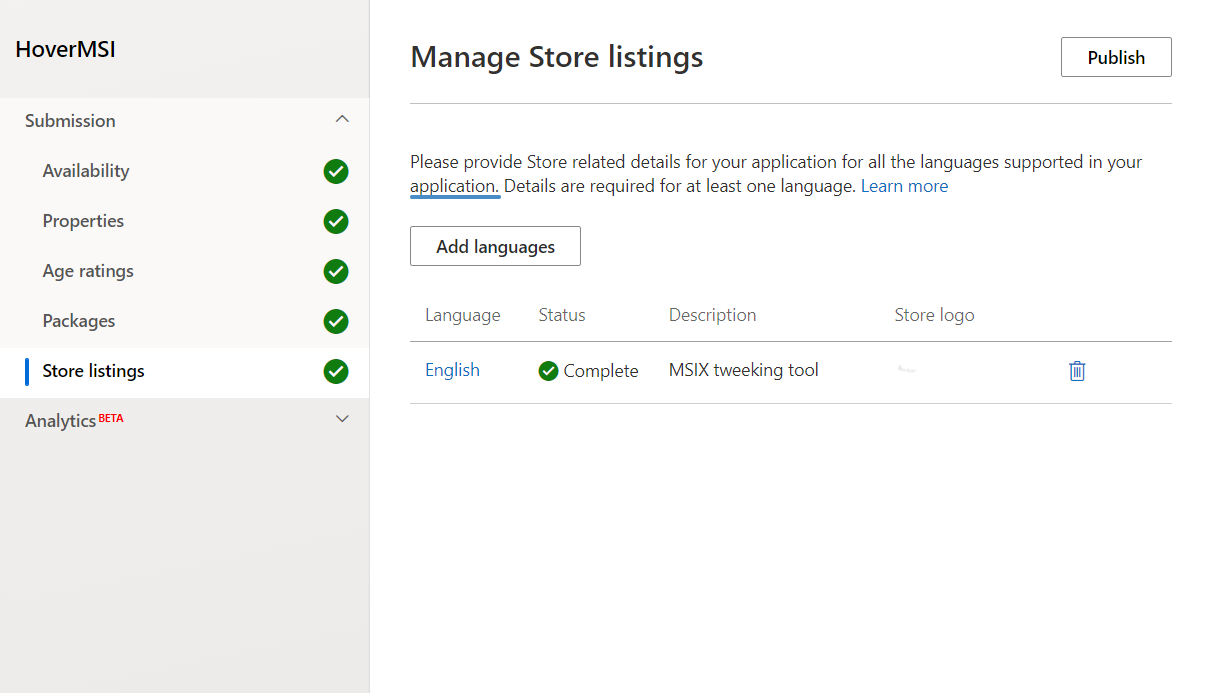
When you're done, just save the draft and close. You should get the completed status as below.
Final thoughts
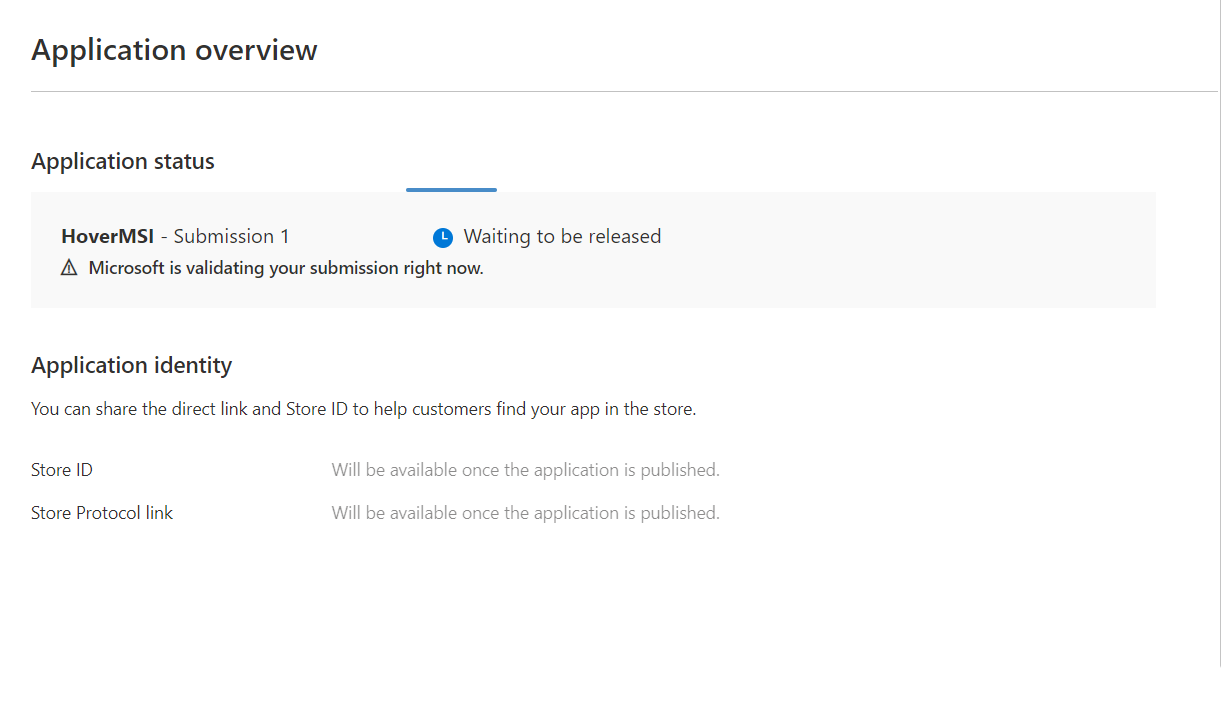
Now that we've completed our final step of hitting the publishing button, all we have to do is wait for Microsoft to evaluate our application.
Once approved, your application will be released based on your chosen publication settings.
Now you know how to publish your MSI and EXE setup applications in Microsoft Store. Let us know how it goes and if you have any specific questions about it, we're happy to help!
