Wrapping VS Repackaging Best Practices (Microsoft Teams Use Case)
Deciding between wrapping an MSI with support for silent switches or repackaging the software into a new MSI depends on various factors including the specific requirements of your deployment, the complexity of the original installation, and the level of customization needed. Both approaches have their advantages and potential drawbacks.
Wrapping an MSI with Silent Switches
Advantages:
- Simplicity: Wrapping an MSI is generally simpler and quicker, especially if the original MSI already supports the necessary installation options and configurations via silent switches.
- Maintains Originality: This method keeps the original MSI intact, ensuring that the original vendor's configuration and updates are preserved.
- Ease of Deployment: Ideal for deploying in environments where you need to include additional scripts or configurations alongside the original MSI without altering its content.
Disadvantages:
- Limited Customization: You're limited to the configurations and options provided by the original MSI and its silent switches. If extensive customization is needed, this approach may not suffice.
- Dependency: Any issues in the original MSI will persist since the core package remains unchanged.
Repackaging Software into a New MSI
Advantages:
- Customization: Repackaging allows for extensive customization of the installation process, including changing the installation flow, adding or removing components, and integrating new settings or pre-requisites.
- Control: You have more control over the installation experience, allowing for a potentially smoother and more integrated deployment process within your IT environment.
- Problem Solving: Useful for addressing issues in the original installation package or adding new features/functionality that the original MSI does not support.
Disadvantages:
- Complexity: Repackaging can be more complex and time-consuming, requiring a deeper understanding of the installation process and the software being deployed.
- Maintenance: Any updates from the original software vendor may require the repackaged MSI to be updated, which can increase maintenance efforts.
If your deployment needs are straightforward and the original MSI supports all necessary configurations through silent switches, wrapping could be the most efficient and straightforward option.
However, it's important to pivot towards using a Repackager as the primary method in instances where the vendor's EXE file lacks support for silent switches, ensuring installations can still proceed smoothly without manual intervention.
But how can we have customization without repackaging?
Yet, challenges arise when the MSI file serves merely as a container or extractor and doesn't directly manage the installation process.
Additionally, there might be instances where customization of the vendor's MSI is necessary. Common requirements such as adding specific registry entries or executing scripts during the installation process exemplify this need for customization. In such situations, how should one proceed?
Let’s consider the Microsoft Teams MSI:
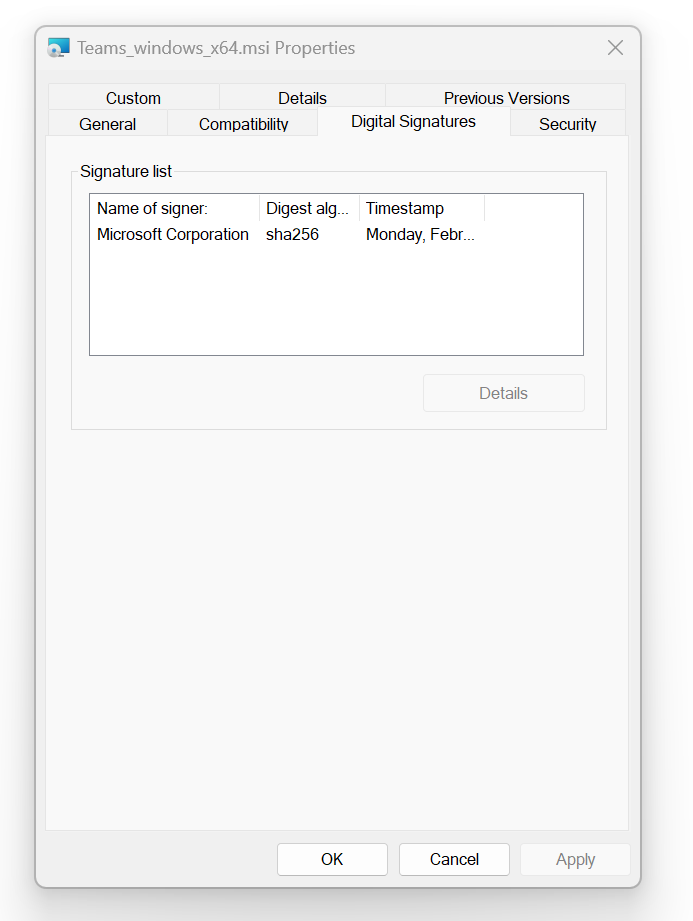
Advanced Installer has support to inspect the MSI, so it always a good practice for first check the source of that MSI package and if everything is looking good, then you can inspect the MSI package:

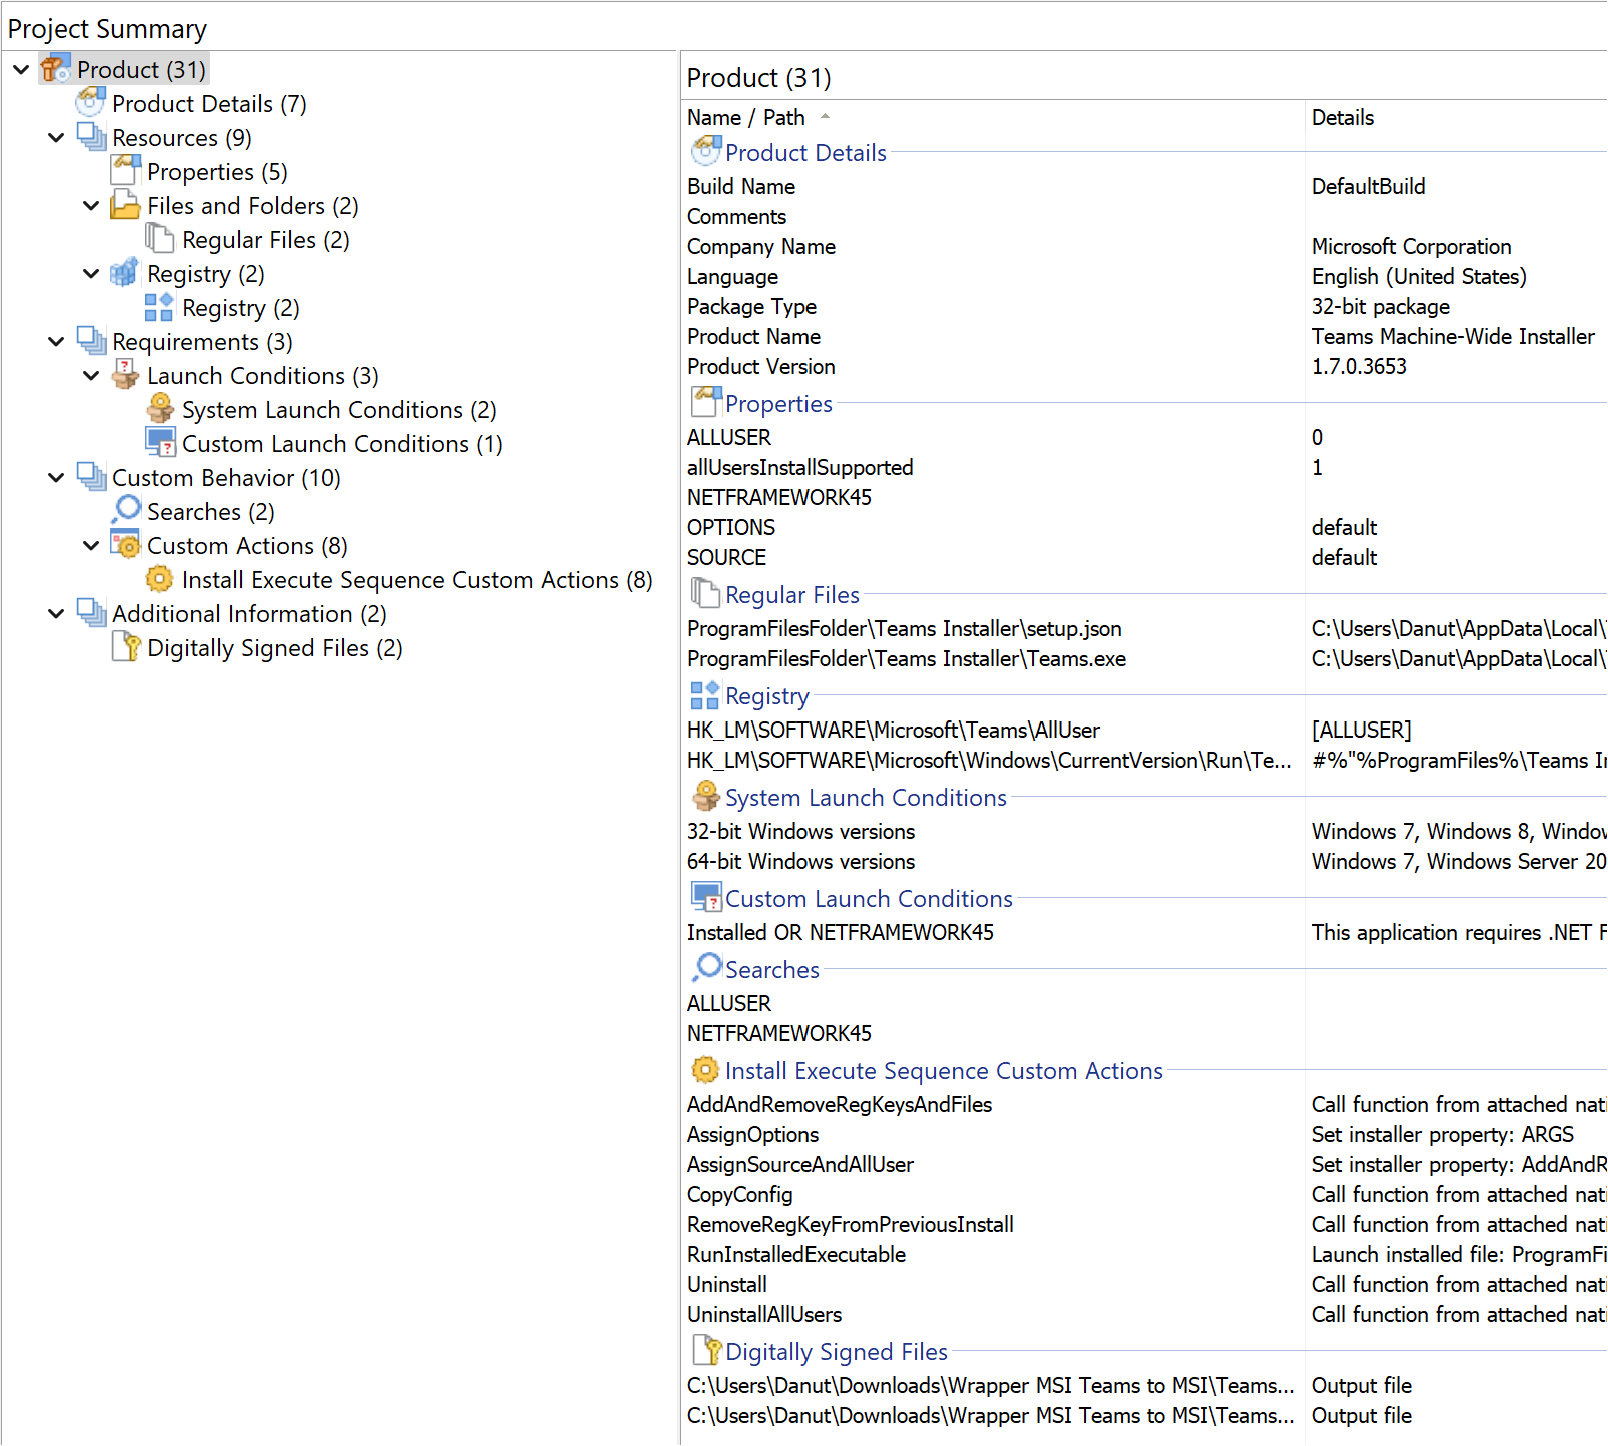
This way, Advanced Installer will load the MSI and we can visually inspect the MSI:

Checking the Custom Actions view, we notice that everything seems to be controlled using custom actions:

If running the actual MSI, no teams app is getting installed, just the Wrapper MSI creates its entry in the Control Panel and after the installation we have the actual package in the Program Files:

So, the vendor MSI hasn't done much, it extracted the Teams.exe. What do we do in this case?
We need to run some scripts before vendor MSI installation and add some registries.
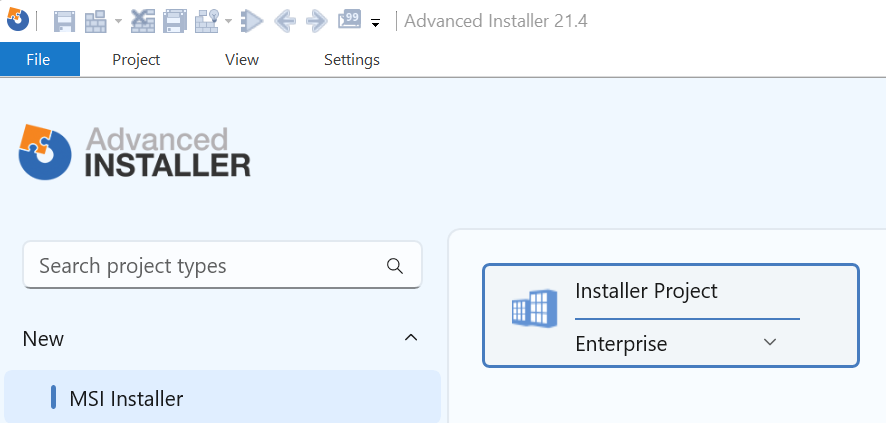
First, let’s create a new project with Advanced Installer:
In the Prerequisites view, we can add our MSI as a chained package:
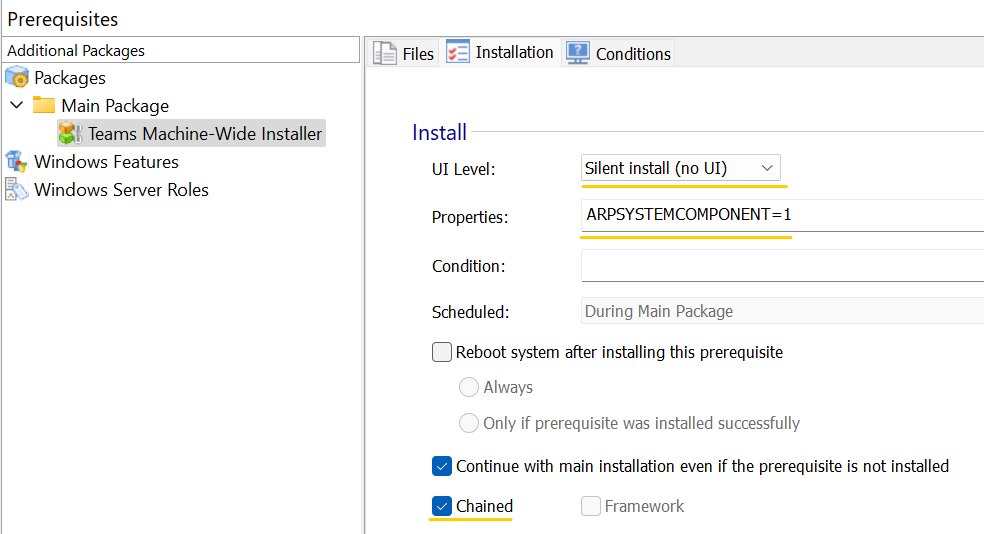
Notice the additional settings for the vendor MSI. We don’t want to register it in the Control Panel. This is a common practice to avoid multiple entries.
Let’s add our registry. For this, go to the Registry view and add your registries, either creating them from scratch or import them directly:

Since the script would most likely require admin privileges, you can enable the when the system is being modified (deferred) and Run under the LocalSystem account with full privileges (no impersonation).
Add as many scripts as necessary.
We need to have another custom action that will launch the Teams.exe from extracted location:
C:\Program Files (x86)\Teams Installer
For this, you can use the Launch File custom action, configured as this:

We are ready to test the wrapping MSI that does exactly what we need. It installs Teams and configures the machine based on our scenario.
Running the installer without registering the wrapper MSI that we’ve created with Advanced Installer:

Checking the Control Panel, we only see original entry made by the Teams:
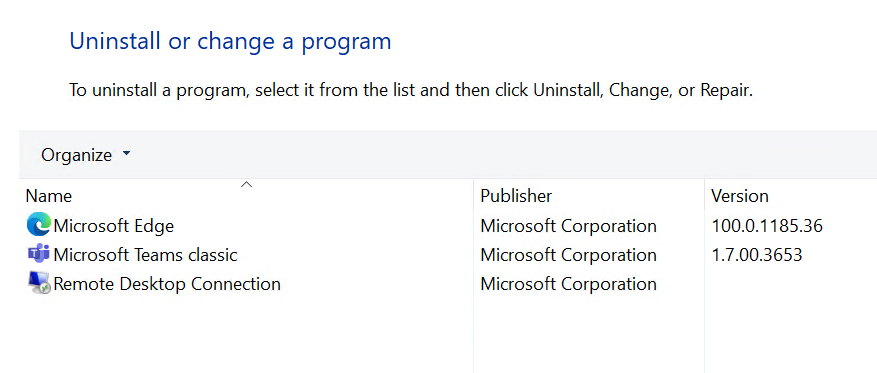
All machine changes were created, meaning that the registry was added and the powershell script executed.
If the MSI is essentially an extractor, advanced wrapping techniques that include scripting can be used to unpack the contents, apply necessary customizations, and then proceed with the installation of the unpacked software.
We’ll focus next on the second approach of customization for the vendor MS,
creating transforms (MST). For this, we have a complete step-by-step
tutorial that can be found here.