Create an MSIX package
The following article uses options that are available starting with the Professional edition and project type.
Learn to create MSIX packages that target Microsoft’s Universal Windows Platform.
Advanced Installer offers you 2 main methods to build MSIX packages:
- You can create a package from scratch, starting from an existing project or a new one - as explained in this tutorial
- Or, you can convert an existing EXE or MSI setup package to MSIX.
1. Create the project
In order to deploy your application using an MSIX package first step is to launch Advanced Installer. A Start Page will be displayed giving you the choice to create a new project or open an existing one. To include an MSIX build, the project has to be Professional type or higher.

2. Add files to your project
In case of a new project, the next step is to add to the project the files and/or folders that compose your application. Just go to Files and Folders page and drag and drop or use the toolbar buttons to add your files.

For more in-depth information regarding more specific scenarios please take a look at our blog articles:
3. Add an MSIX build
To create an MSIX, you must add to a new or existing Advanced Installer project, an MSIX/APPX build.
- Go to the Builds page.
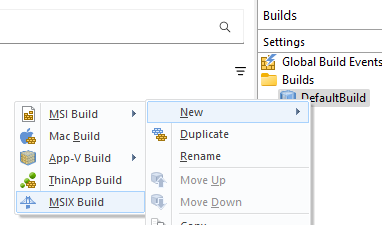
- Add an MSIX build to your project by pressing in button in the top ribbon or by right-clicking in the Builds and selecting New > MSIX Build.

4. Configure the build
Before creating the package, it must be configured by choosing the output, package type, and platform target.
Configure the Output
- Set the Output folder by pressing the button and selecting a location on the computer.
- Set the name of the MSIX package.
Configure the Package
- Check x86 and x64 as the architectures you want to target.
- Select Create a bundle with individual packages inside.
Configure the Target Platforms
- Check Desktop as the target platform and select.
- Select version 1809 or higher as the minimum and maximum.

MSIX is supported starting with Windows 10 version 1809 and above; if you want to
create an APPX select any version below 1809.
5. Configure the application
Go to Application Details page, add a new application, select your .exe file and configure its settings.

6. Sign the package
The package cannot be installed without being signed with a trusted certificate.
- Go to the Digital Signature page.
- Check Enable signing.
- Select Use from Personal certificate store and choose your certificate from the drop-down.
You can create a test certificate by pressing the Create button.

7. Build and install the MSIX
If you are on Windows 10 1909 or earlier, then make sure you have Sideload apps
enabled in order to allow the installation of your MSIX. Do this by going to your Windows 10
Settings > Search For Developers > Enable Sideload apps.
Locate the newly created package and install it.
- Press the Build button in the ribbon or F7 to create your package.
- Open the output by clicking the path in the build log.
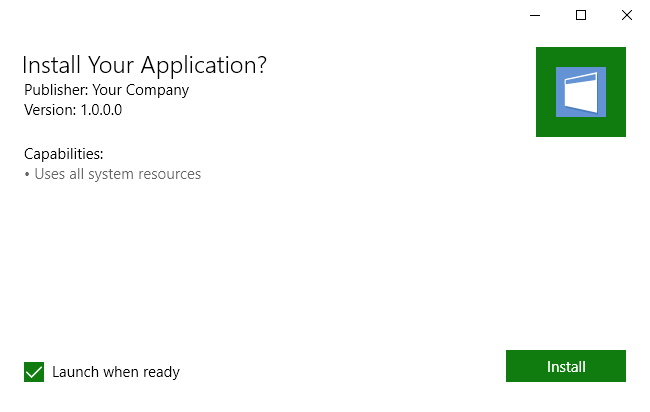
- Install the MSIX package.
